How To Make A 3d Kandi Cuff
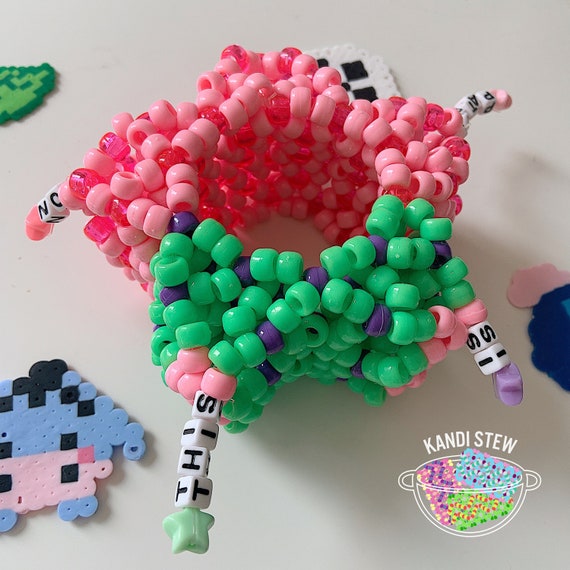
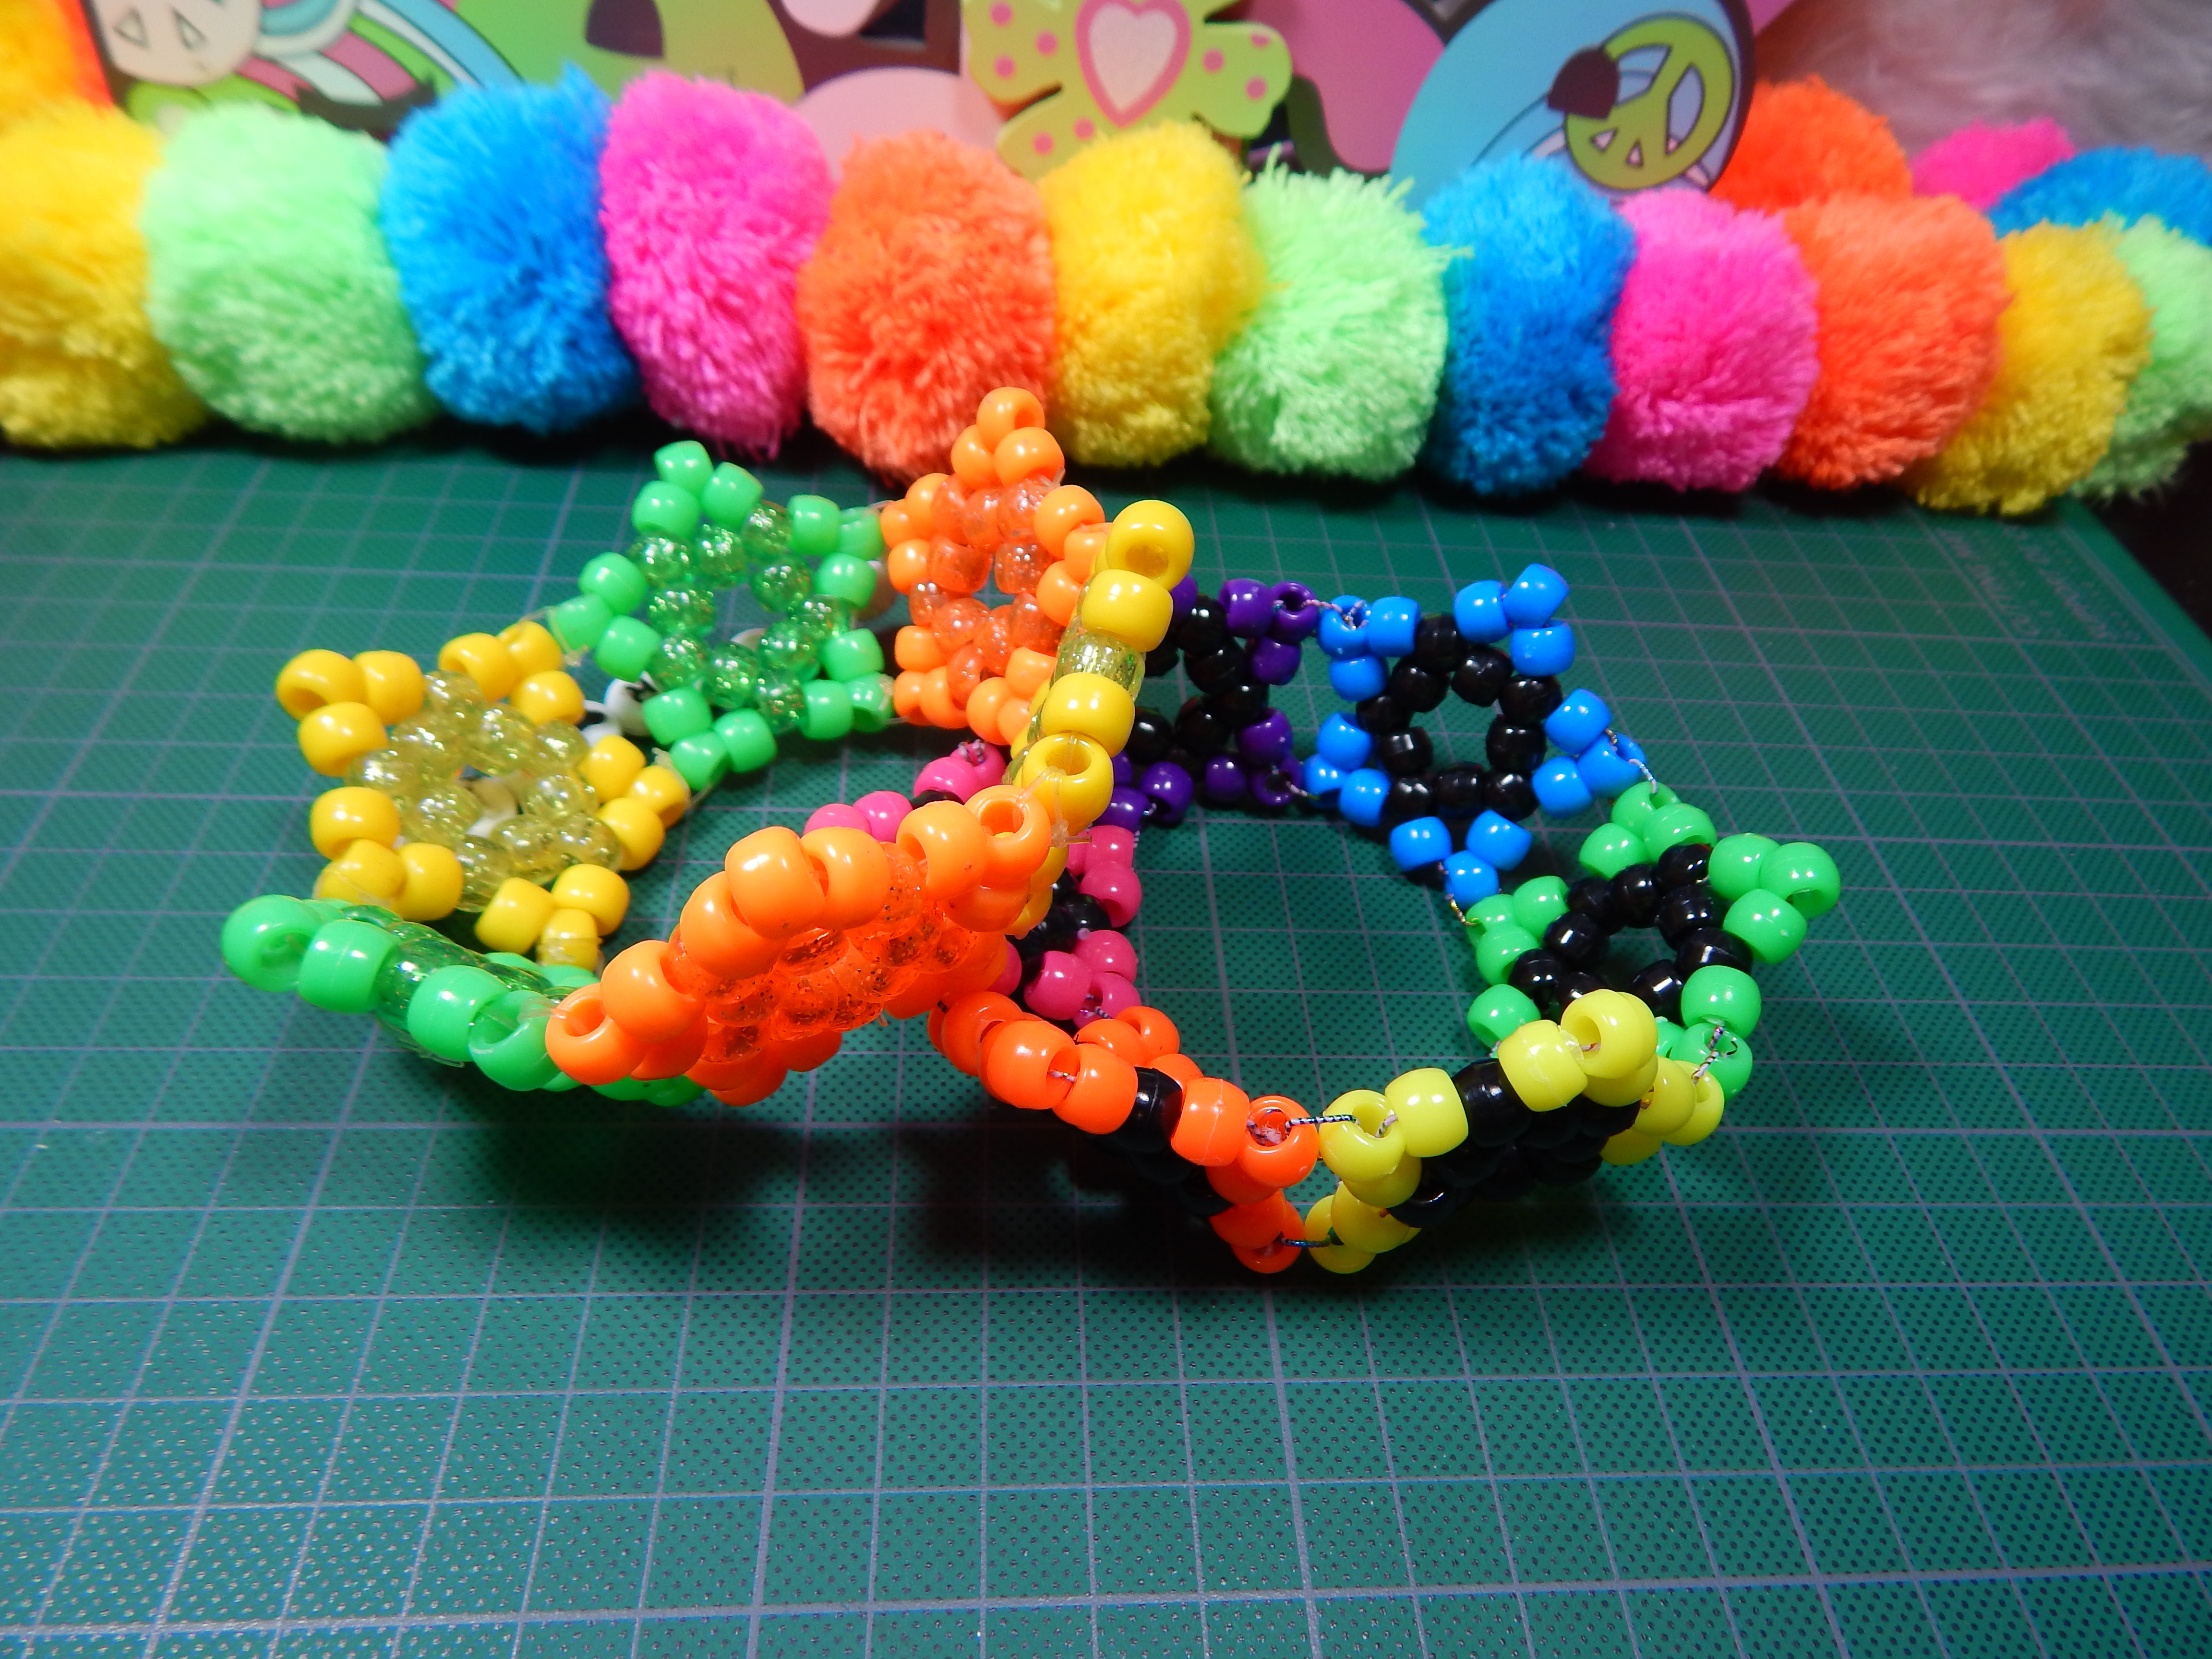
I love these because they are fun to watch and the growth of the kandi piece is so exciting.

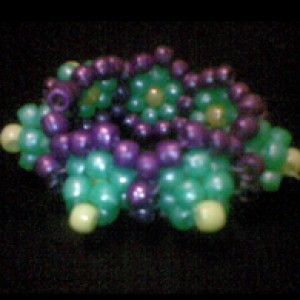
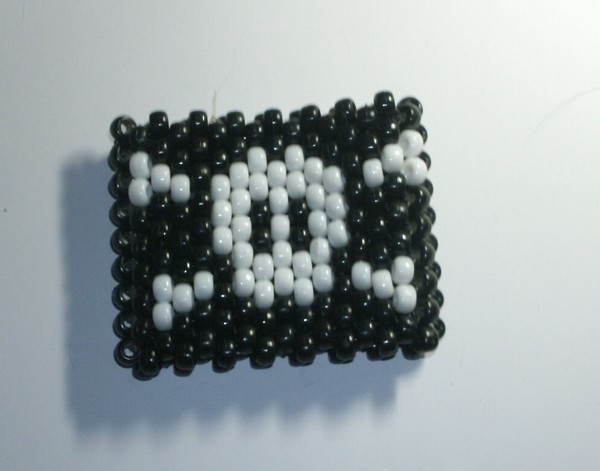
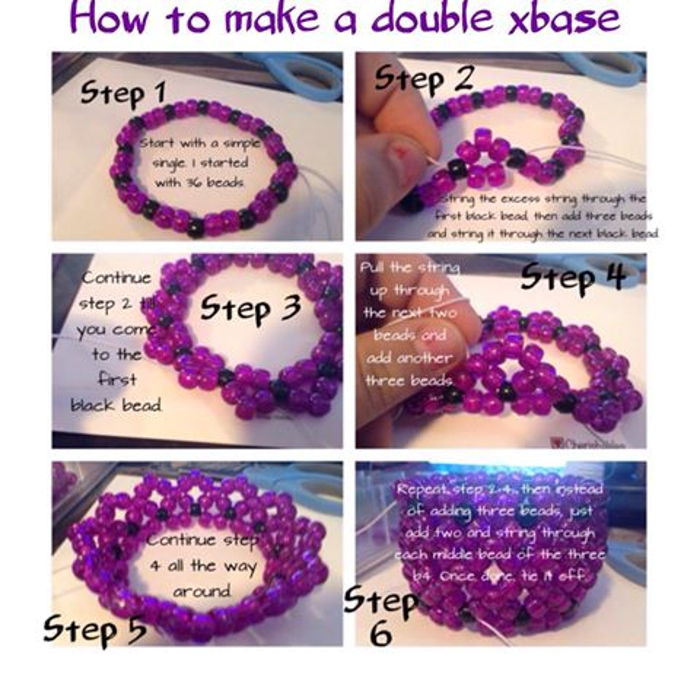
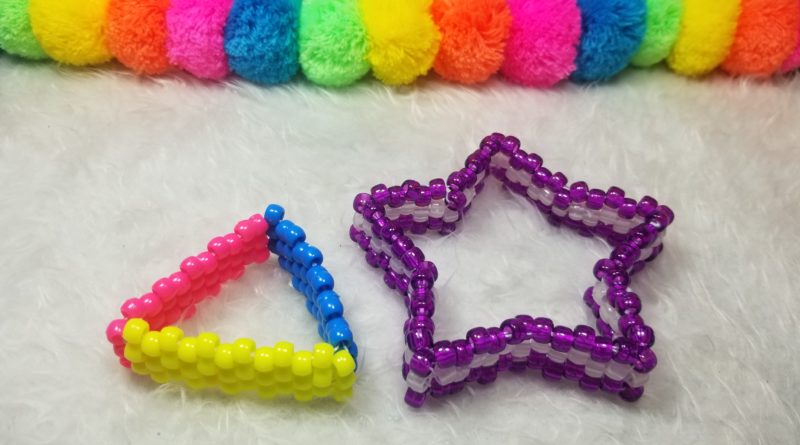
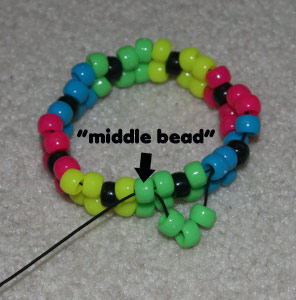
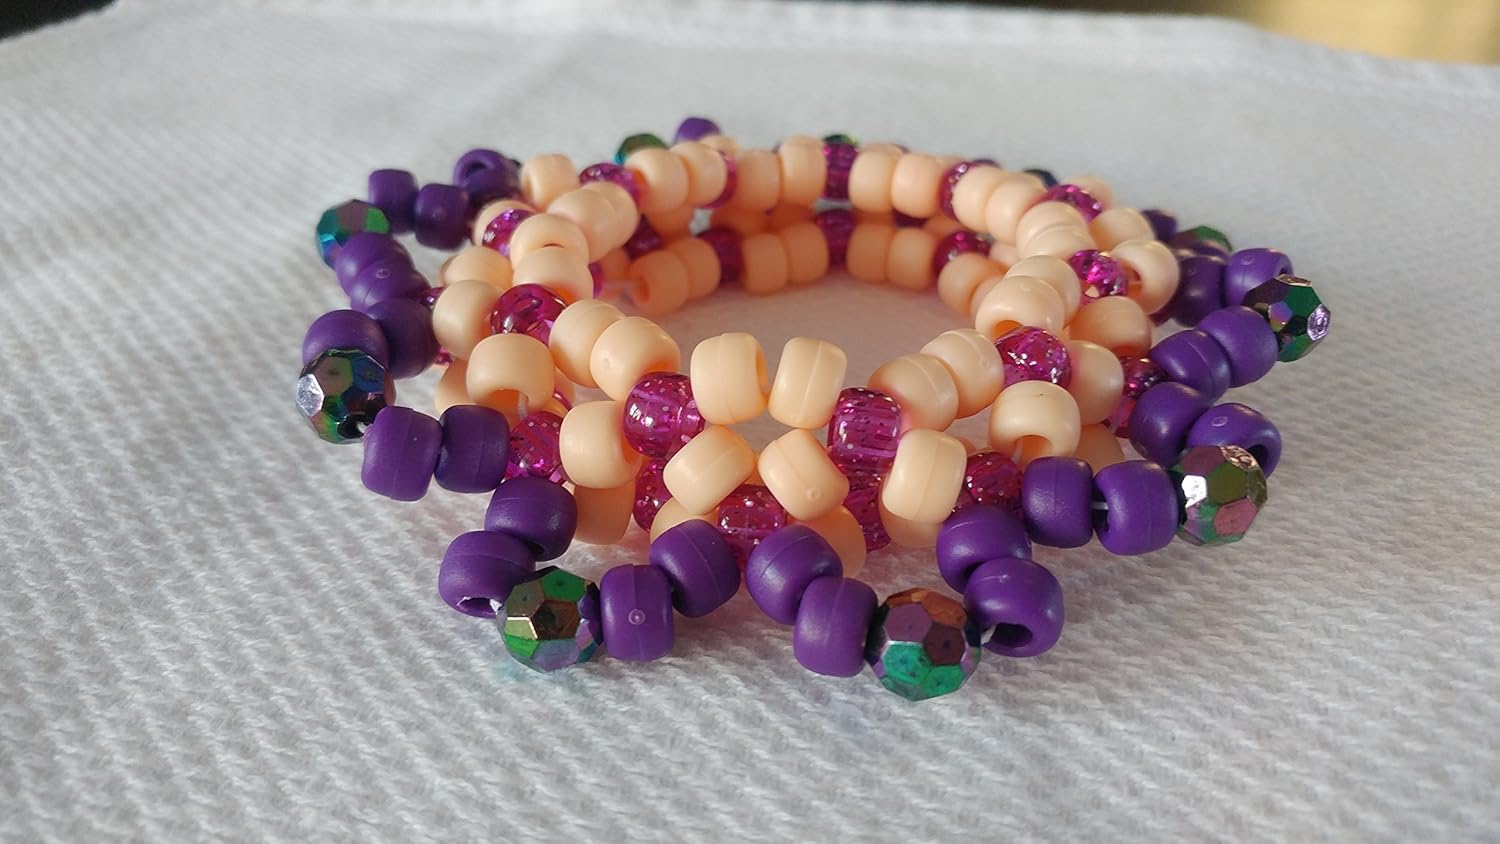
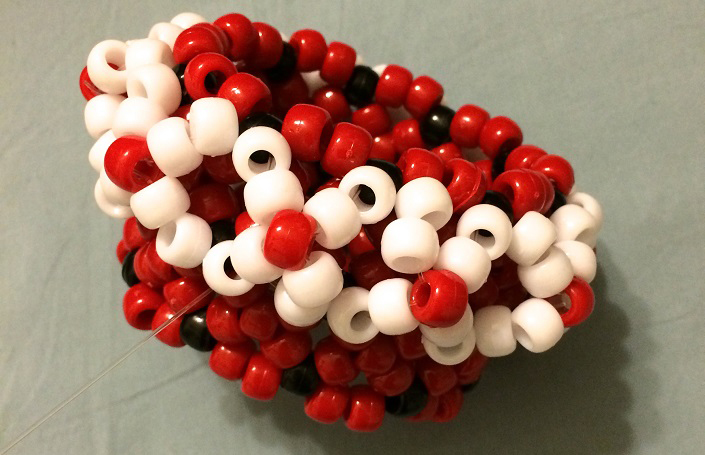
How to make a 3d kandi cuff. Start by stringing three beads. Depending on how large your wrist is and how wide you want your cuff to be you will have to use varying amounts of string. The pattern will be 2 purple 1 white 2 purple. Now youre going to use the long end of the string to build the cuff base.
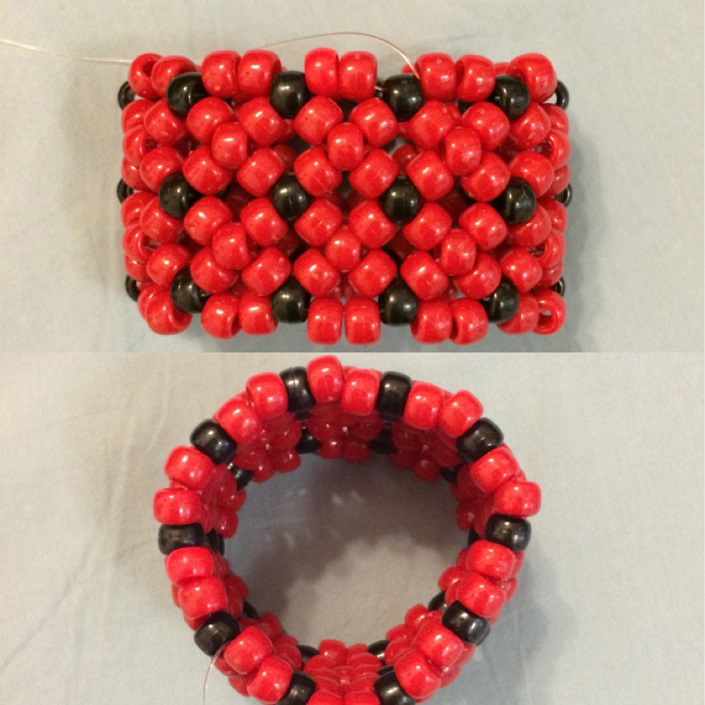
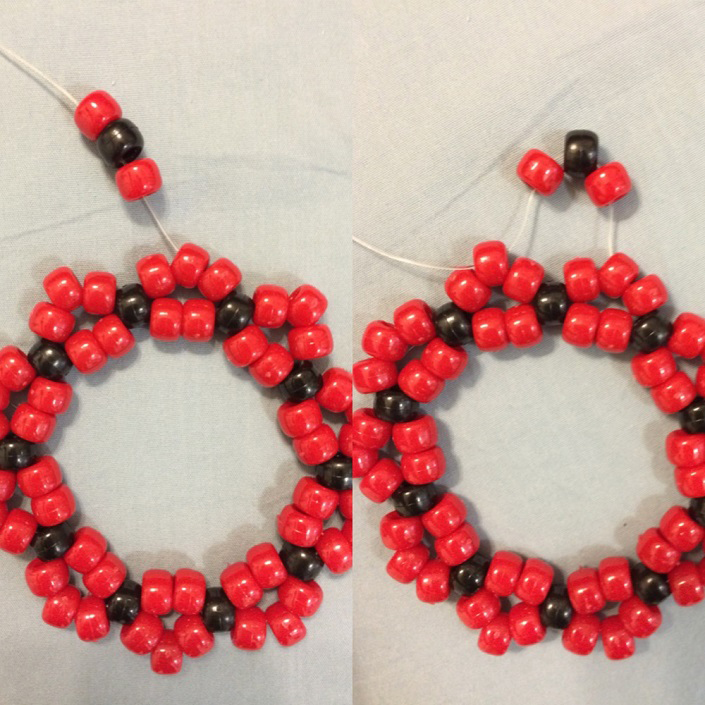
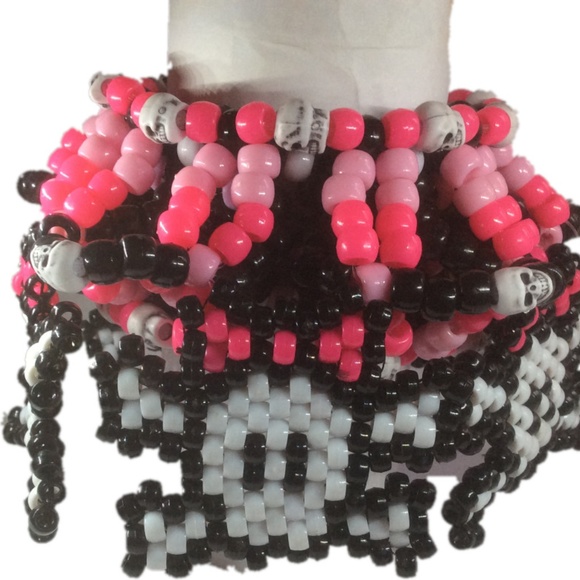
To test out what size is best for you make. Please feel free to contact me. Begin by selecting two colors and stringing them on to elastic in the following pattern two main color in this example hot pink and one accent color in this example navy blue. This step determines how the cuff will fit on the person wearing it.
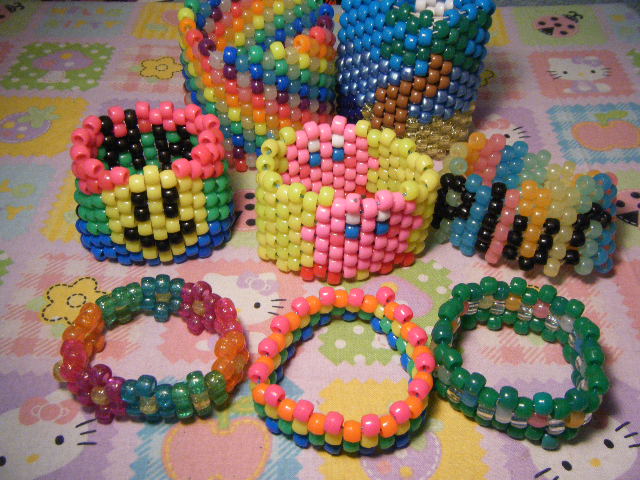
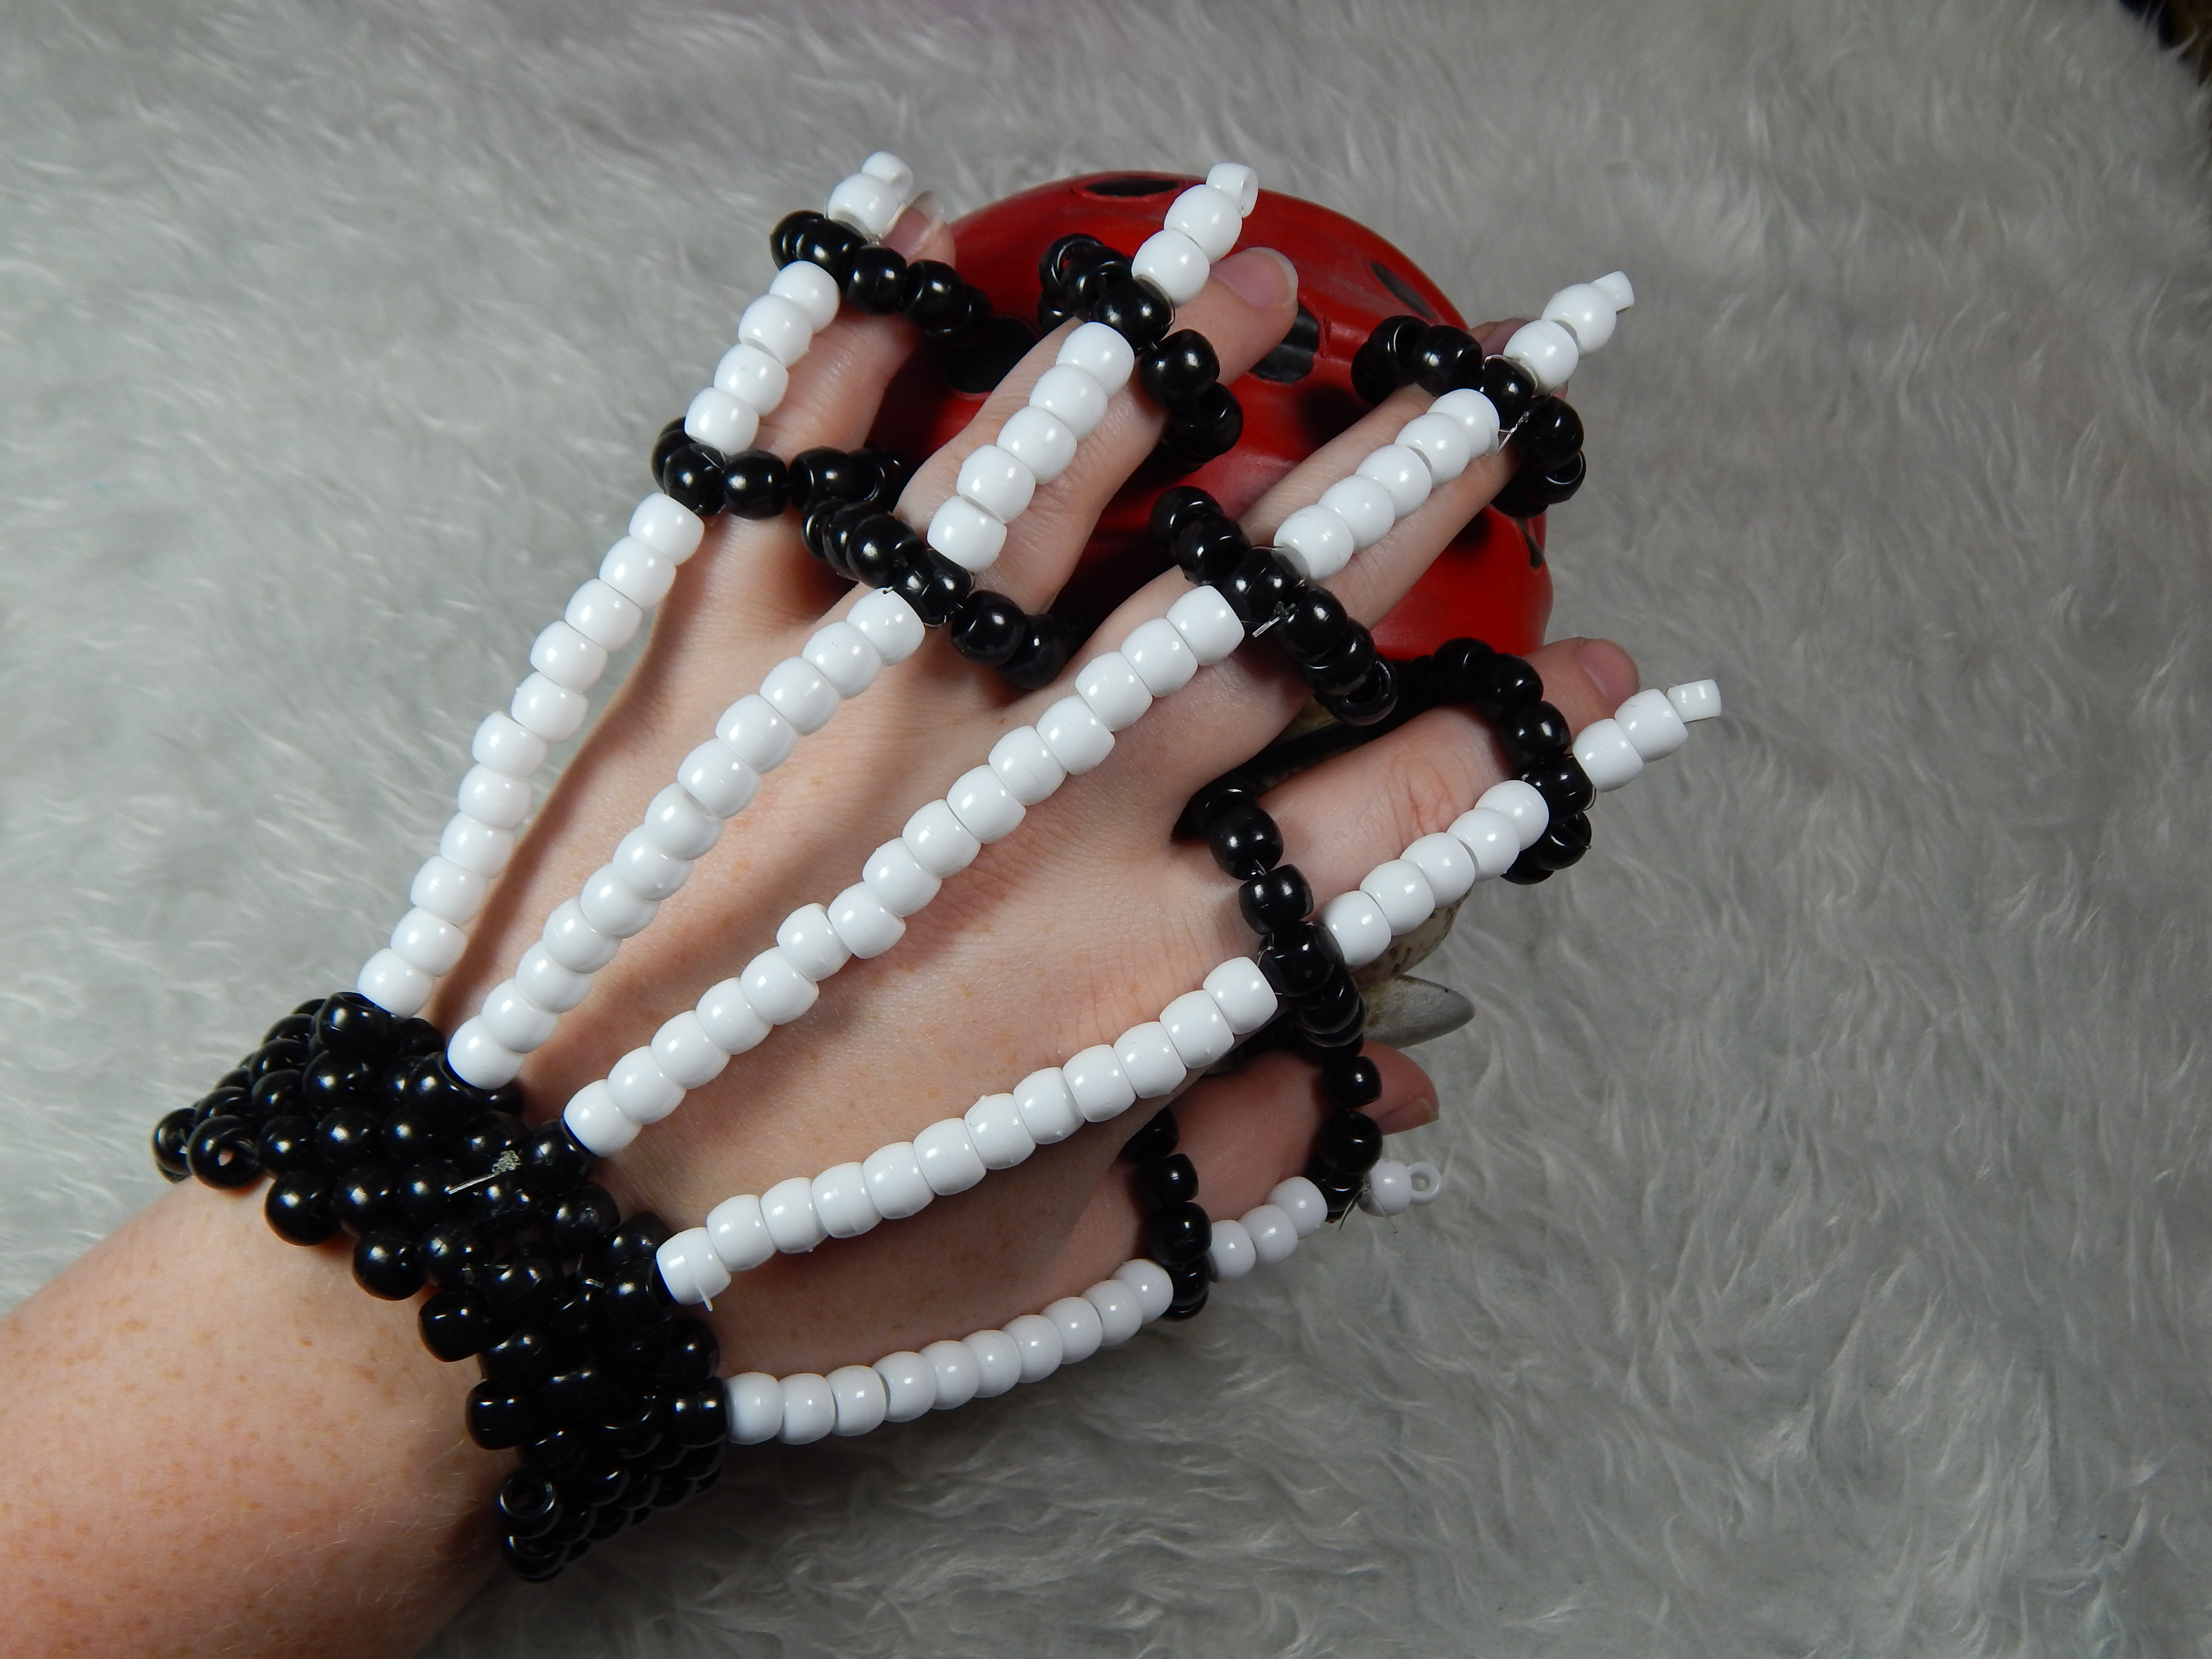
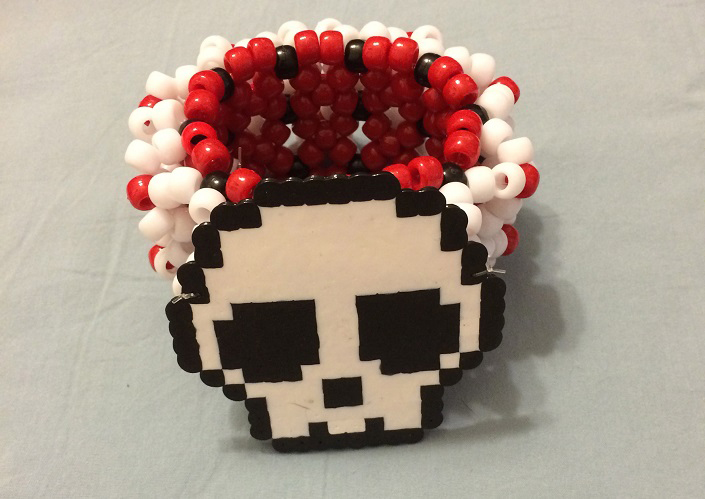
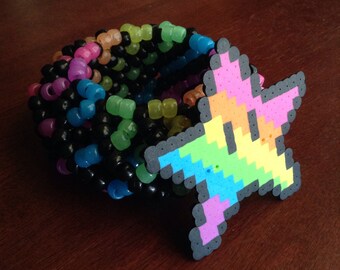
This 3d cuff starts out with a simple x based cuff and then can be built out to create multiple layers and for a fun 3d look. For a basic cuff you will need several feet of an elastic string a selection of pony beads and a pair of scissors. Step 1 select the right materials. First pick your charm or small toy like this hello kitty charm to add to your 3d kandi cuff.
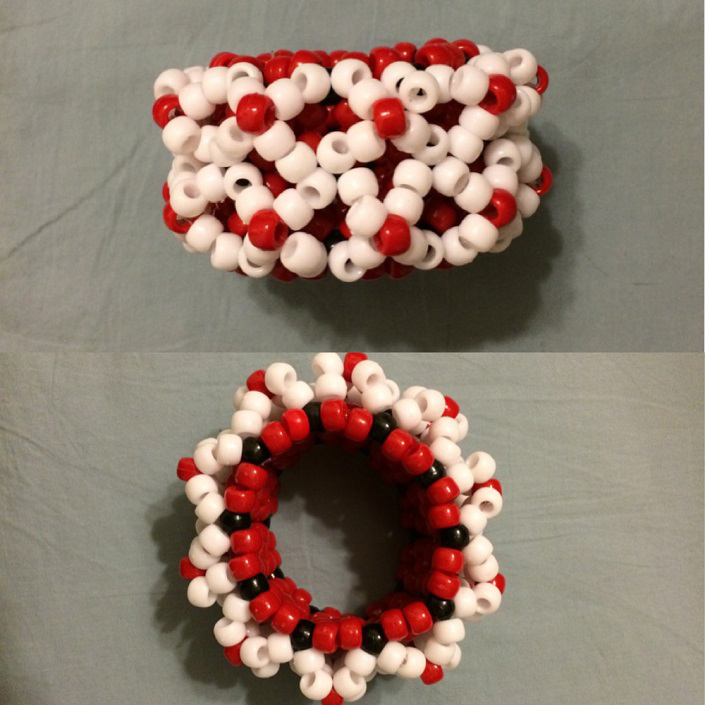
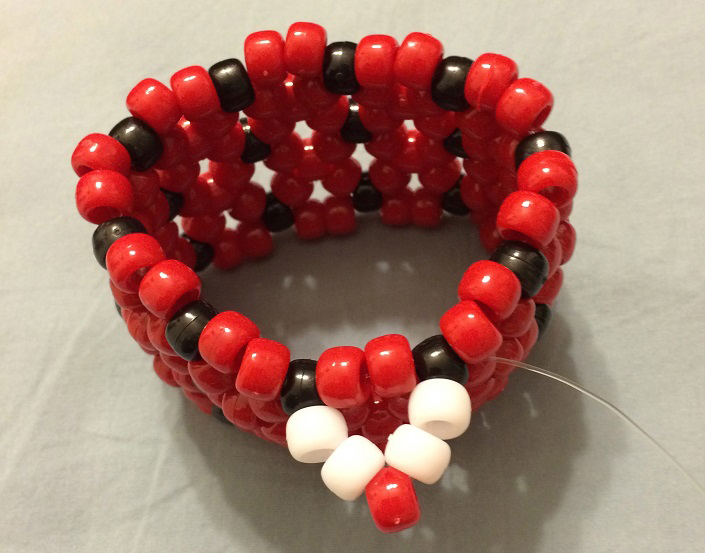
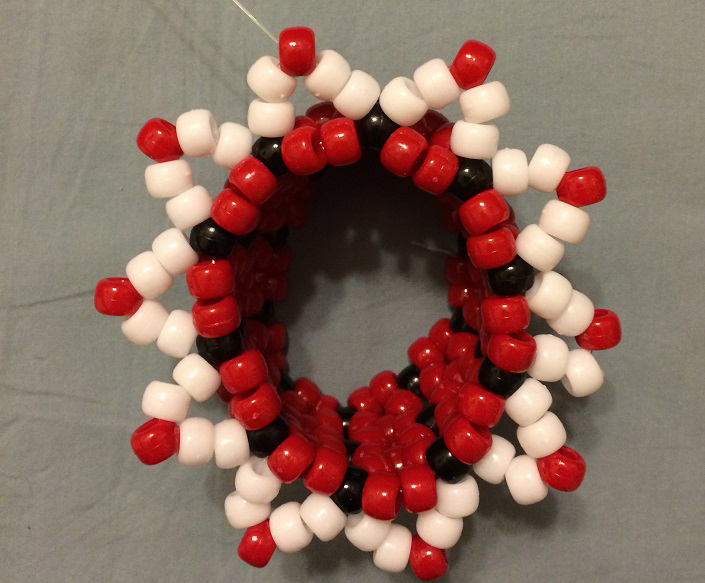
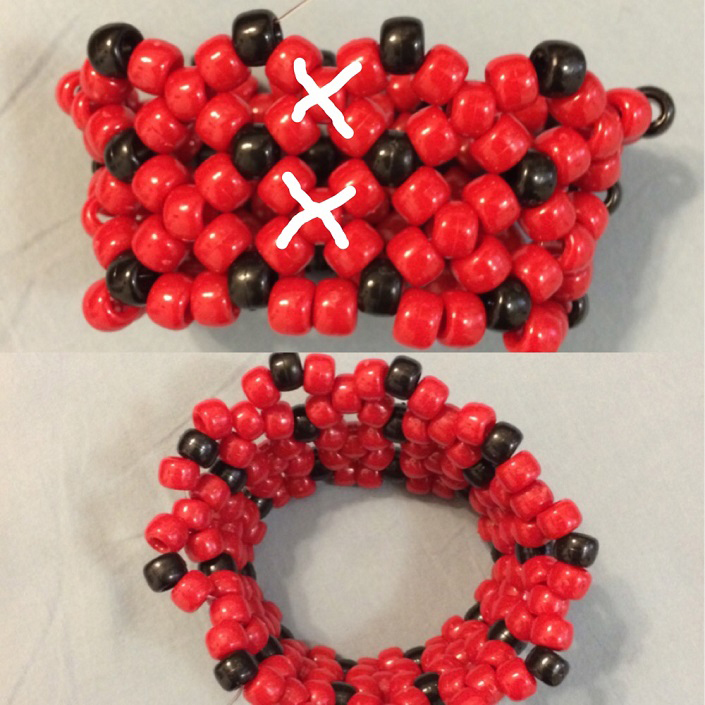
Starting at a white bead add 5 beads. Then add three beads onto. Repeat two main beads one accent bead until the end. See how this bead is in the nook in between two 3 bead.
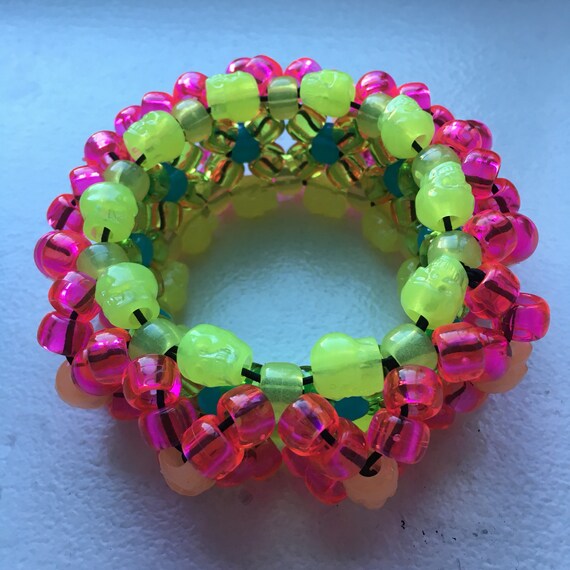
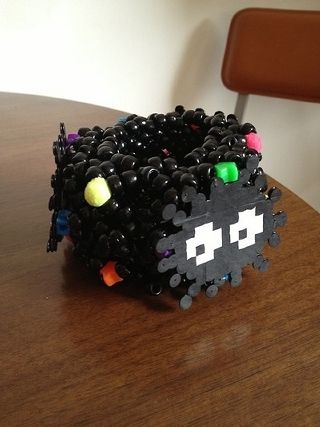
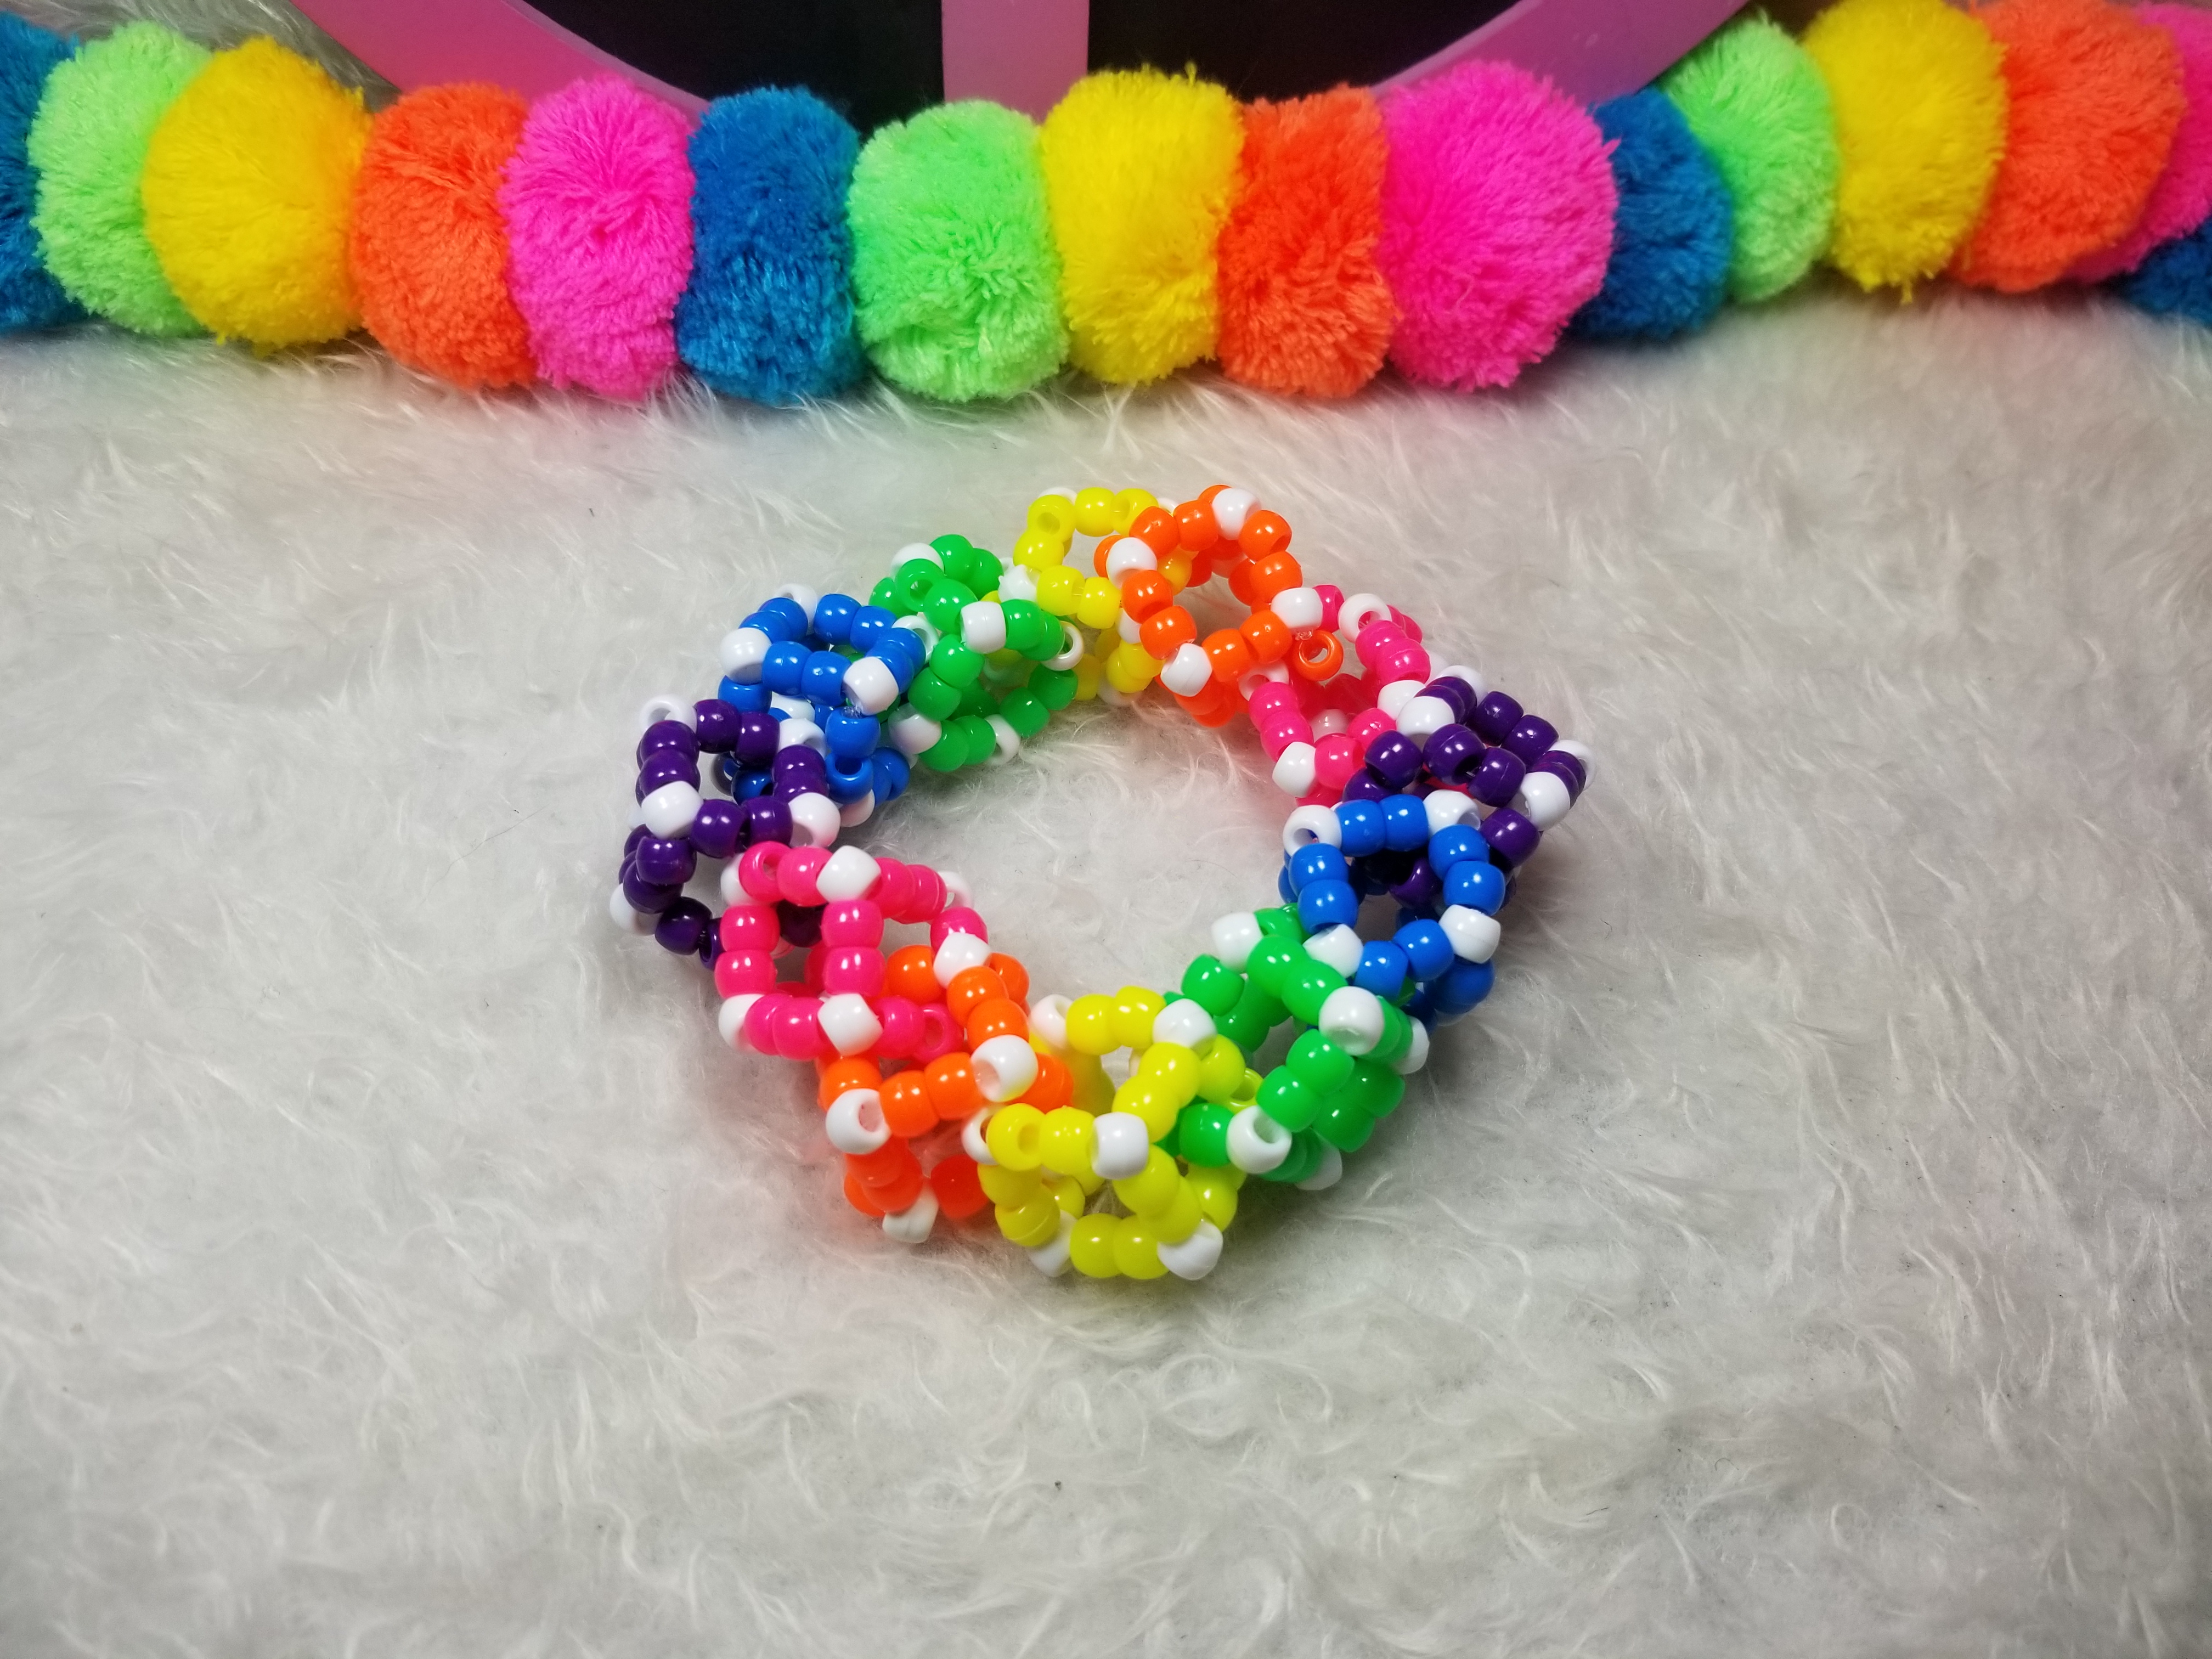
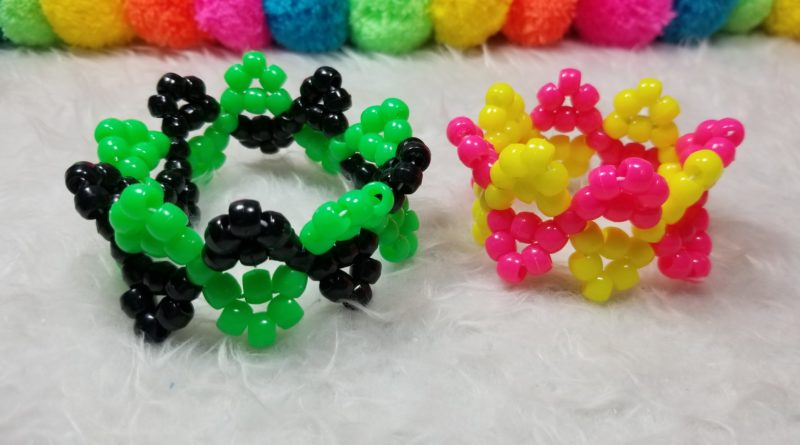
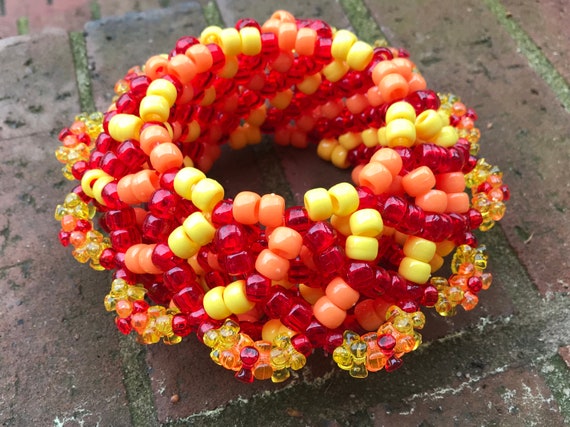
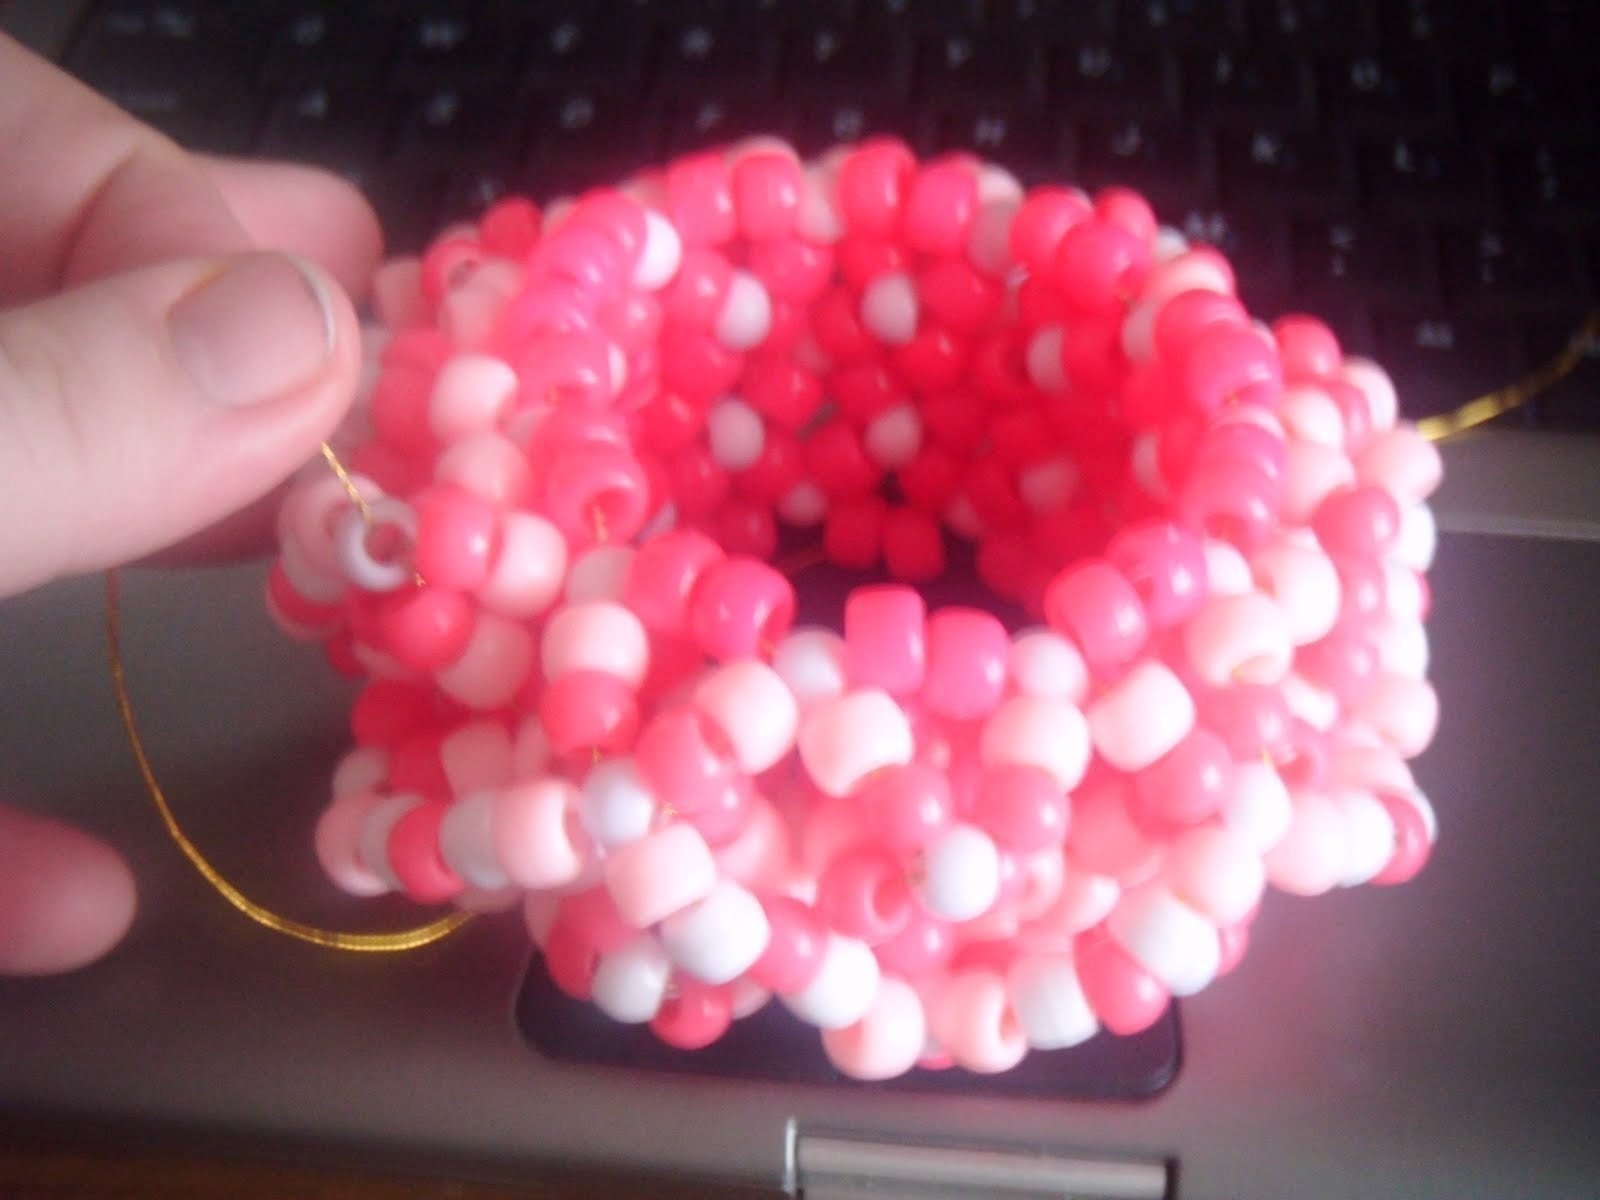
Then 2 orange 1 white 2 orange etc. Now to really make this fun were going to start expanding. Next will be 2 pink 1 white 2 pink. Turning your cuff into a 3d cuff.
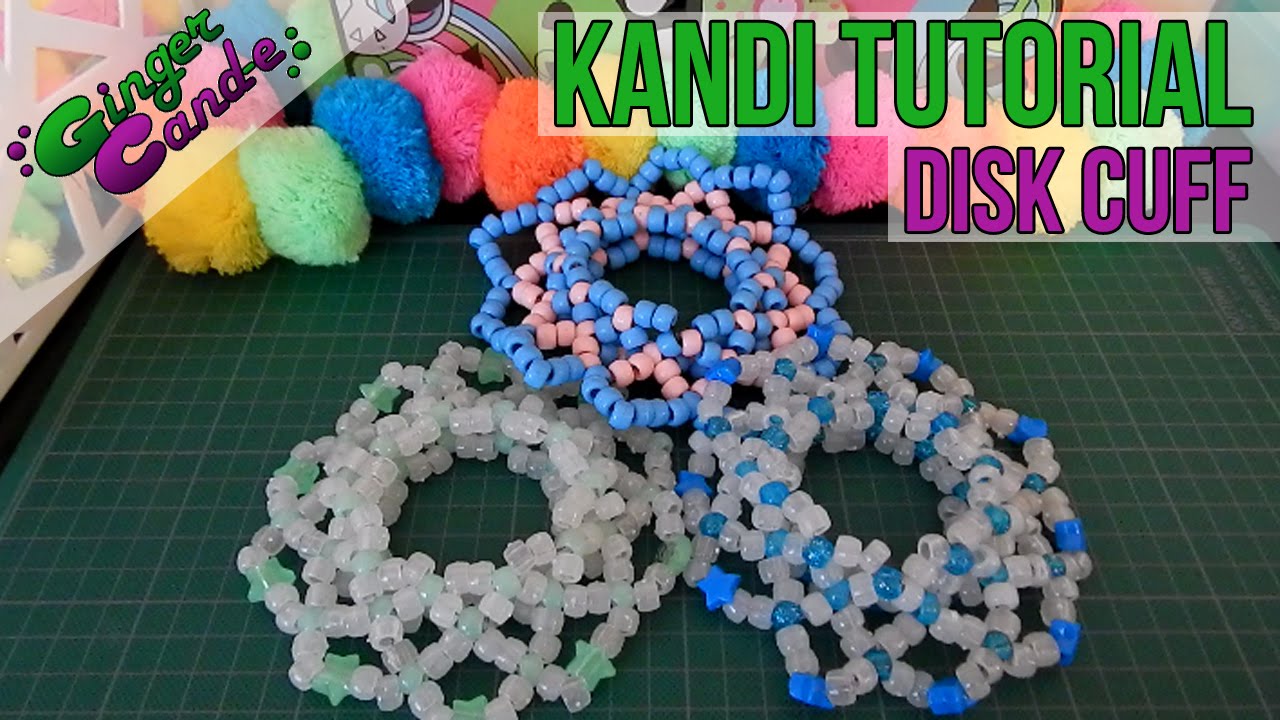
About me. Today im going to teach you how to make your very own 3d kandi cuff. Next you are ready to come up with a pattern and start your 3d kandi cuff. Although pony beads are classic for making a traditional kandi cuff you can use any type of beads as long as the hole is large enough to fit your string through twicestep 2 measure and cut your string.
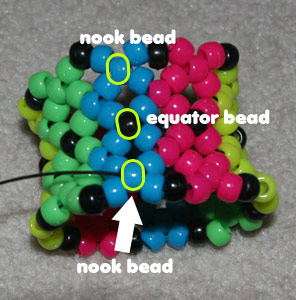
Thread your string along until it is coming out of the hole outlined in green. Continue this around the cuff but at every white bead change the color.

3d Kandi Cuff Tutorial Studio 240 Blog

Rainbow Ufo 3d Cuff 2 By Skeletalwreck Kandi Photos On Kandi Patterns

3d Kandi Cuffs Tumblr

3d Kandi Cuff Rave Bracelet Great For Your Next Depop

3d Kandi Cuff Tutorial Studio 240 Blog