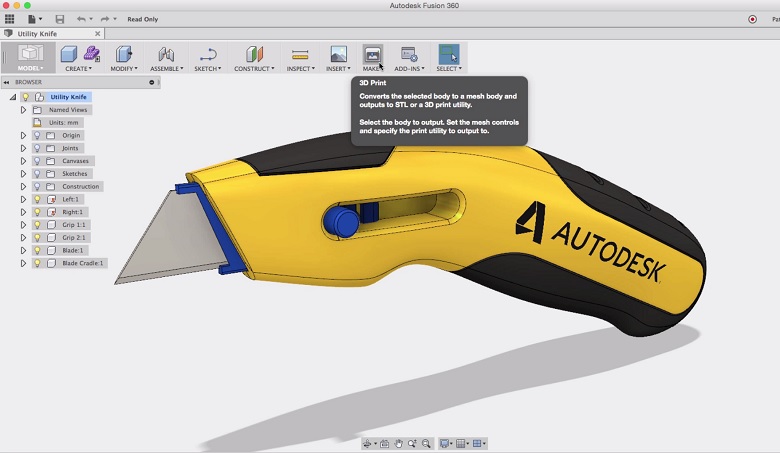
Fusion 360 Center Text On Surface
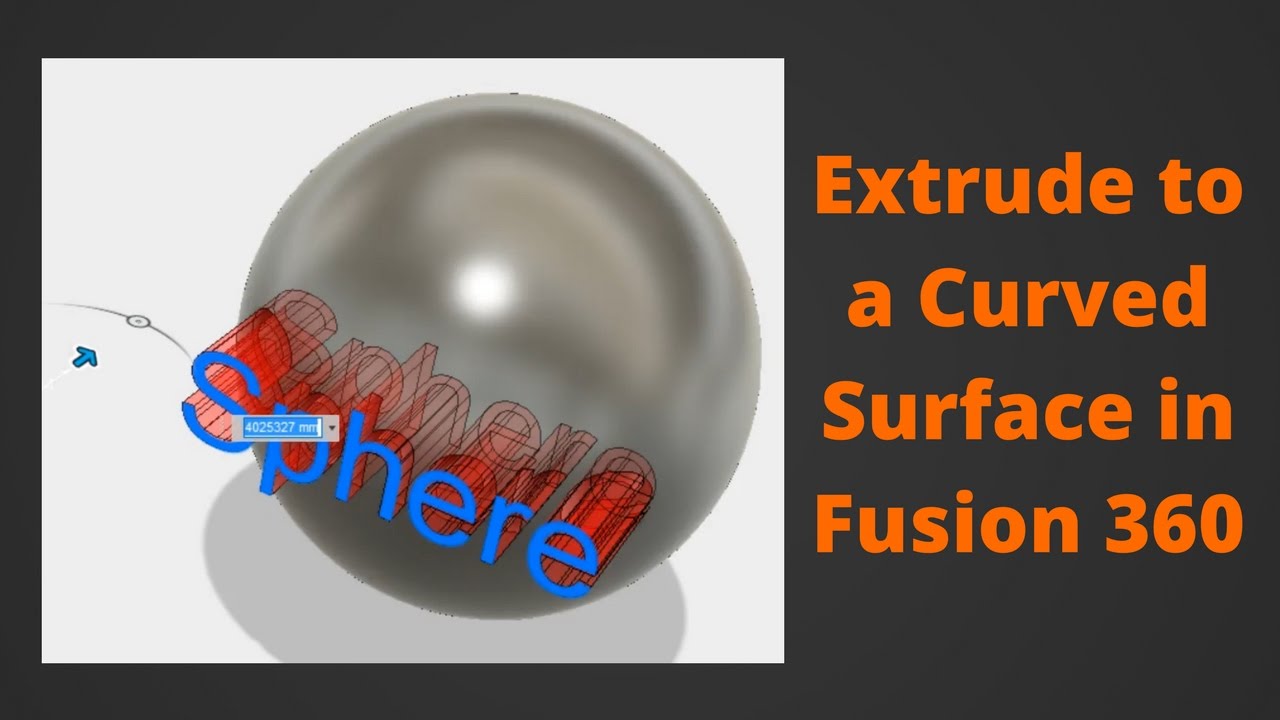
How to wrap text around a cylinder for embossed or engraved lettering in fusion 360 by autodesk.
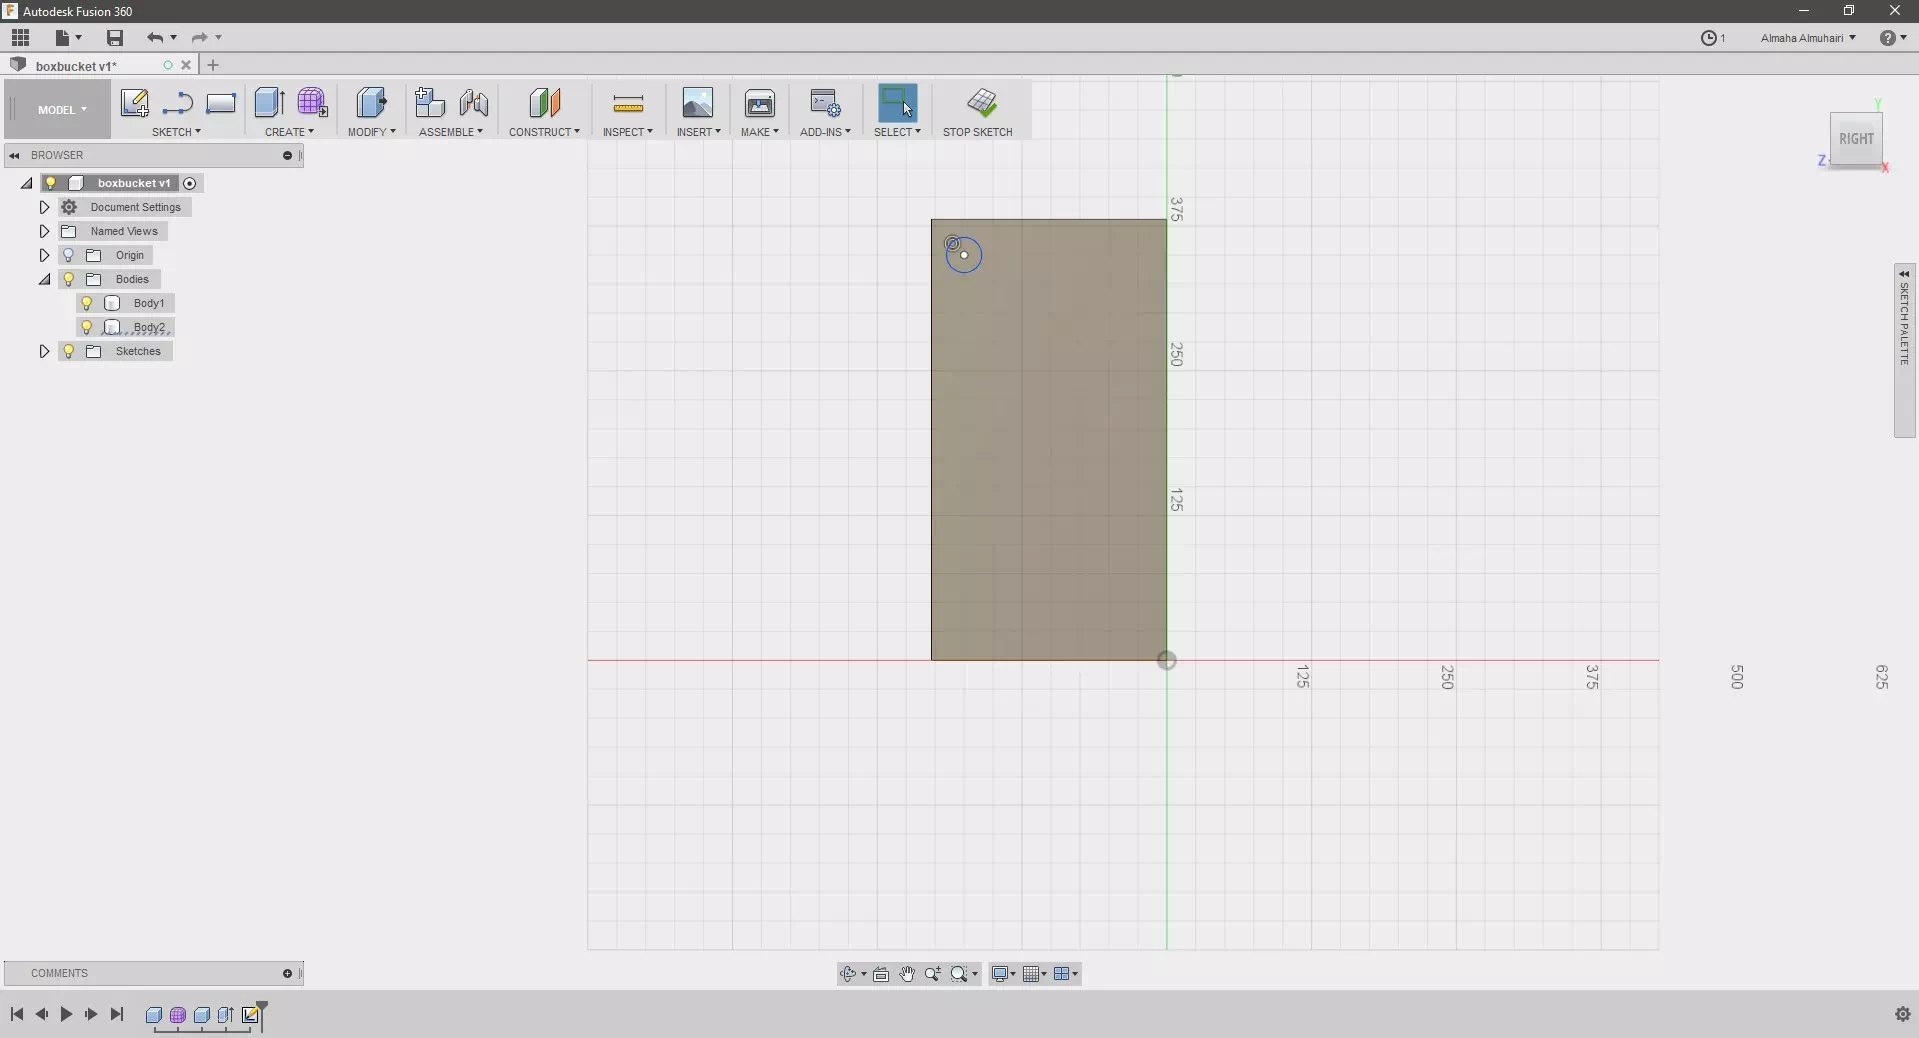
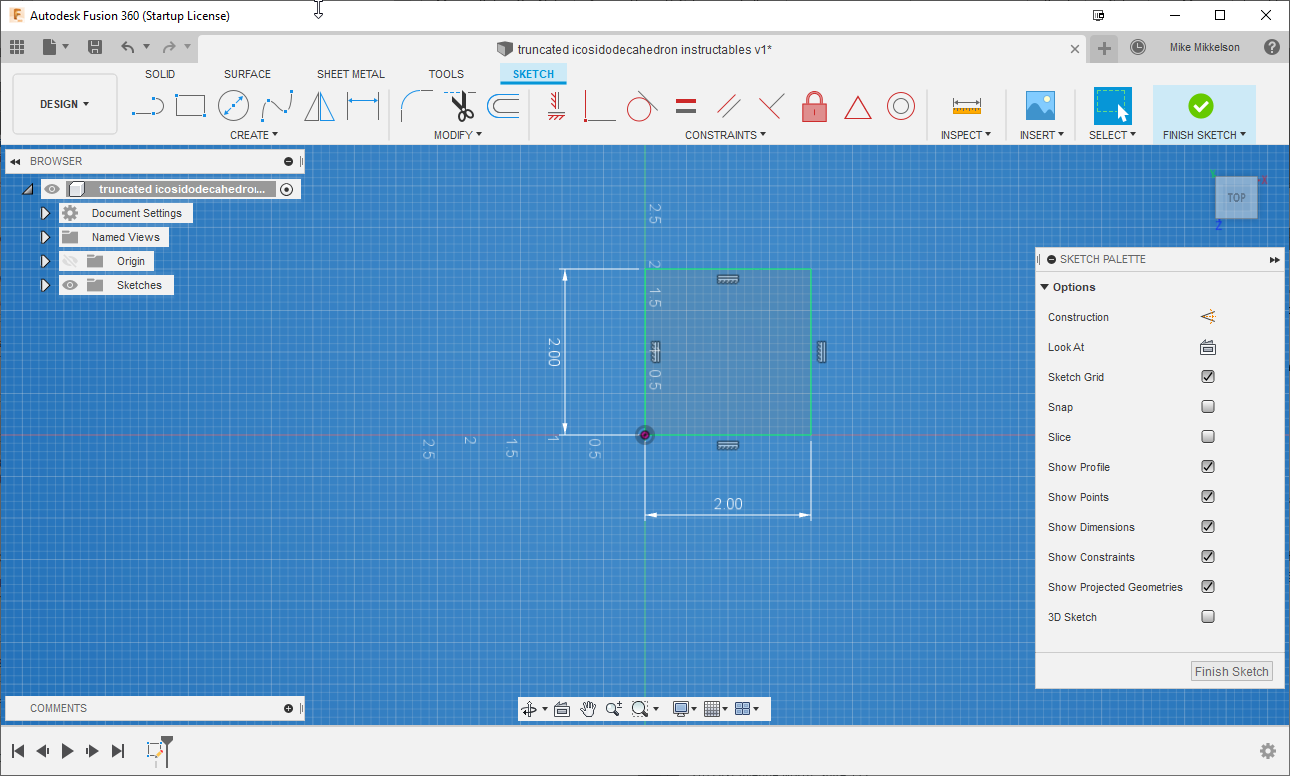
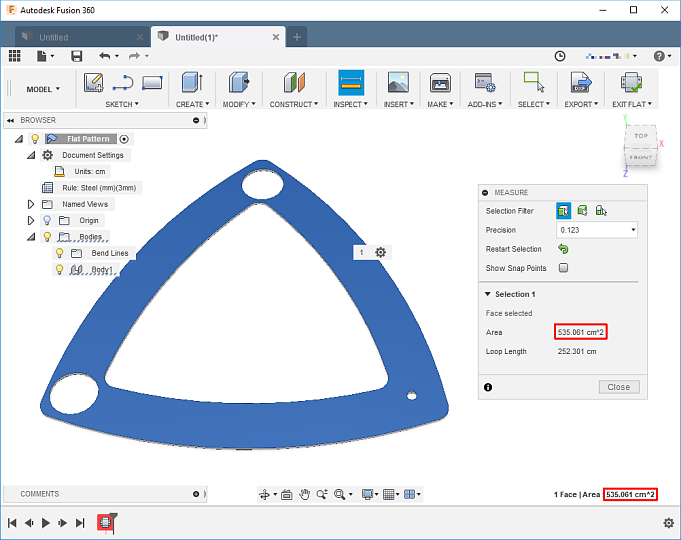
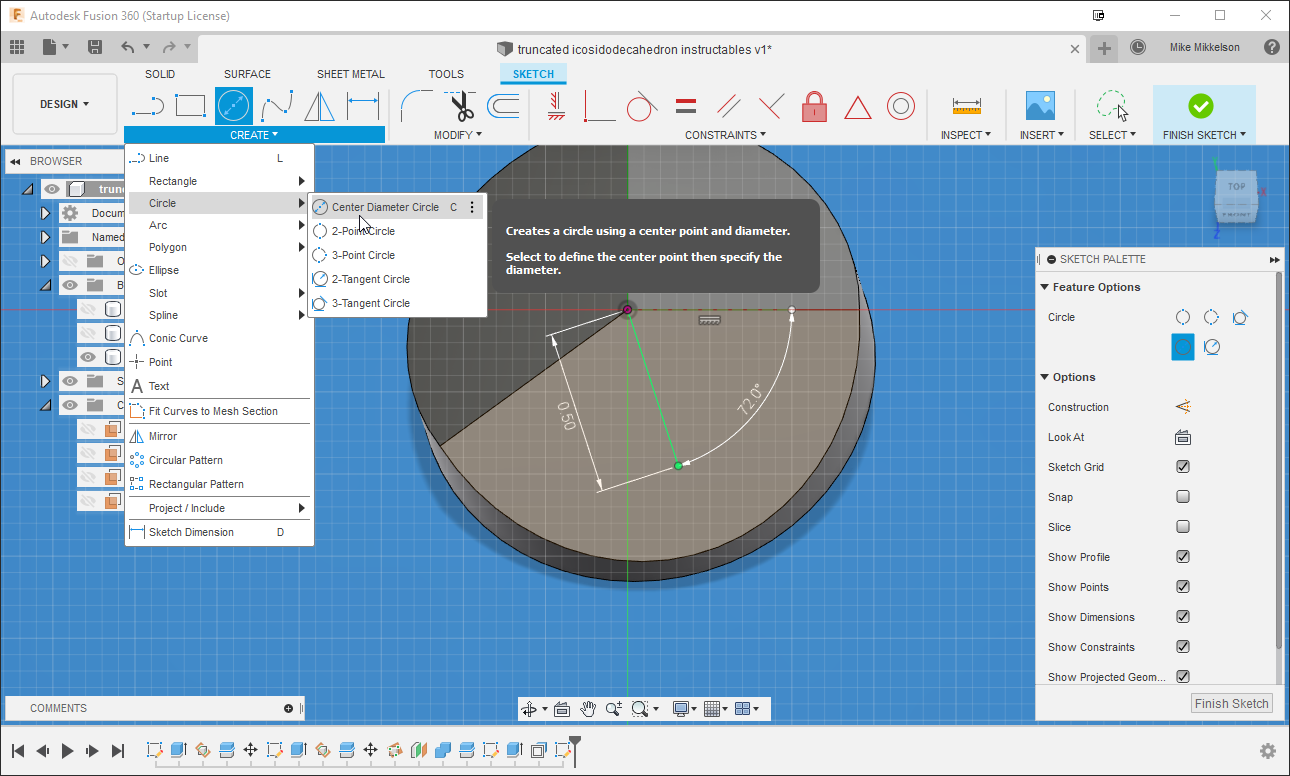
Fusion 360 center text on surface. Use the little blue circle to position and center your text and click ok. Center align text on your object create a construction line down the center of the face. Download free fusion 360 trial at httpsautodesk2skfkkx. Select sketch create sketch and click on the top surface of the flattened body to select it.
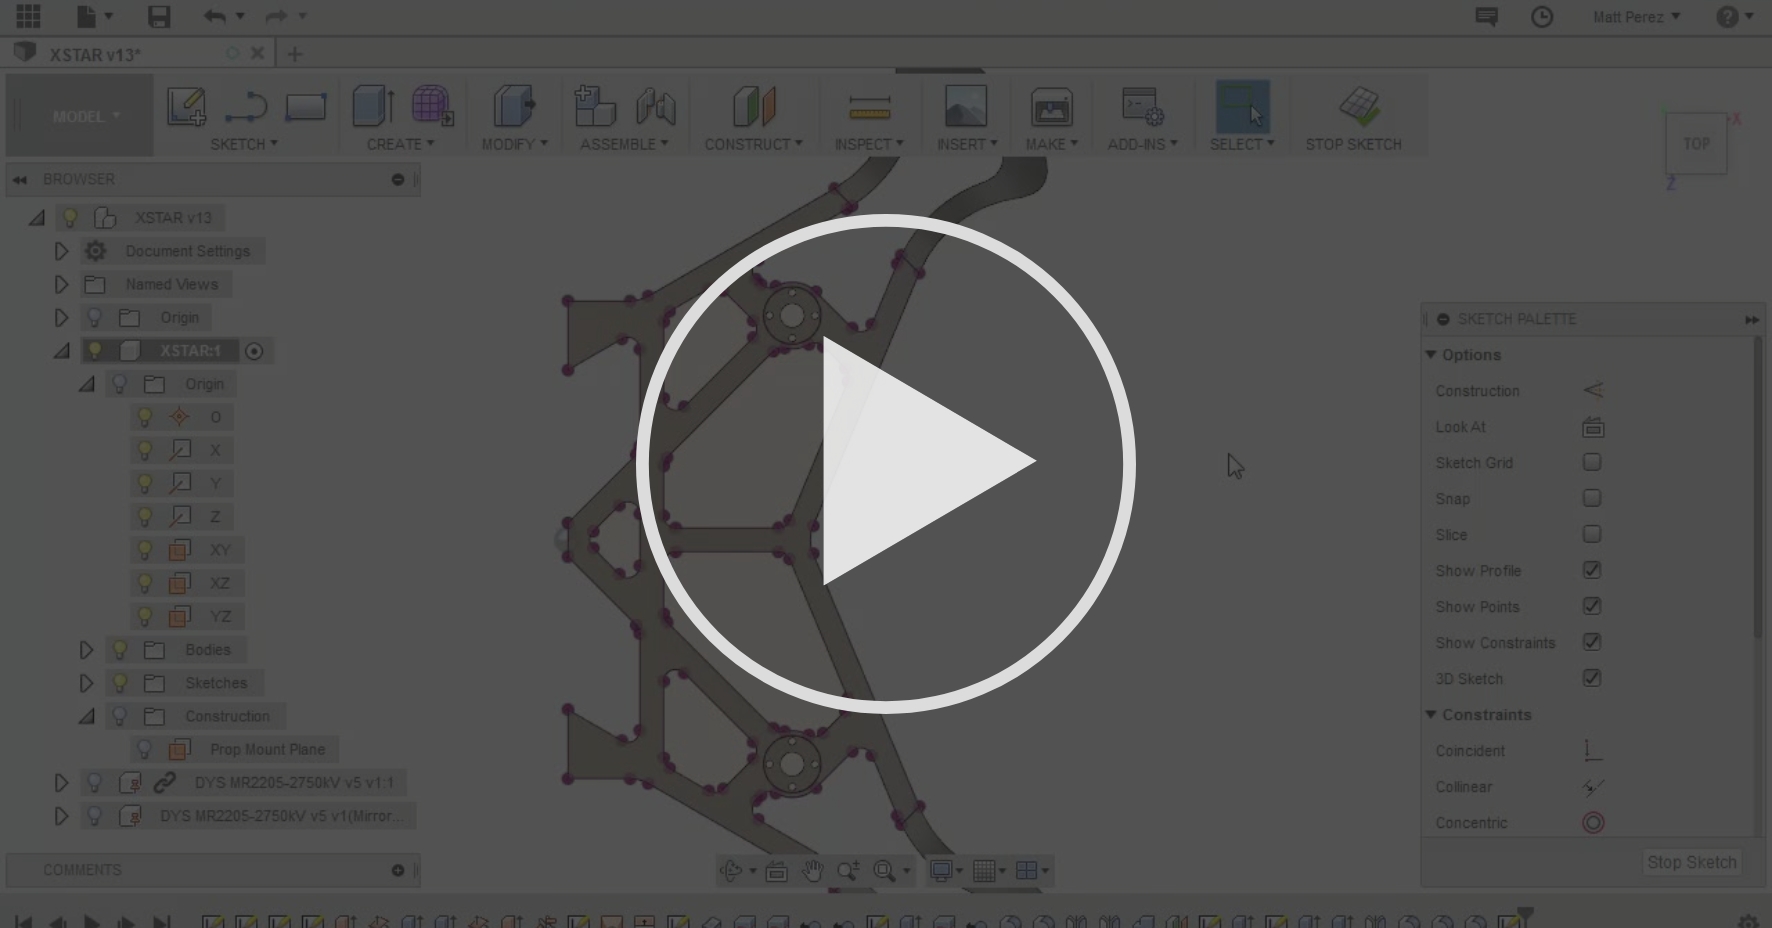
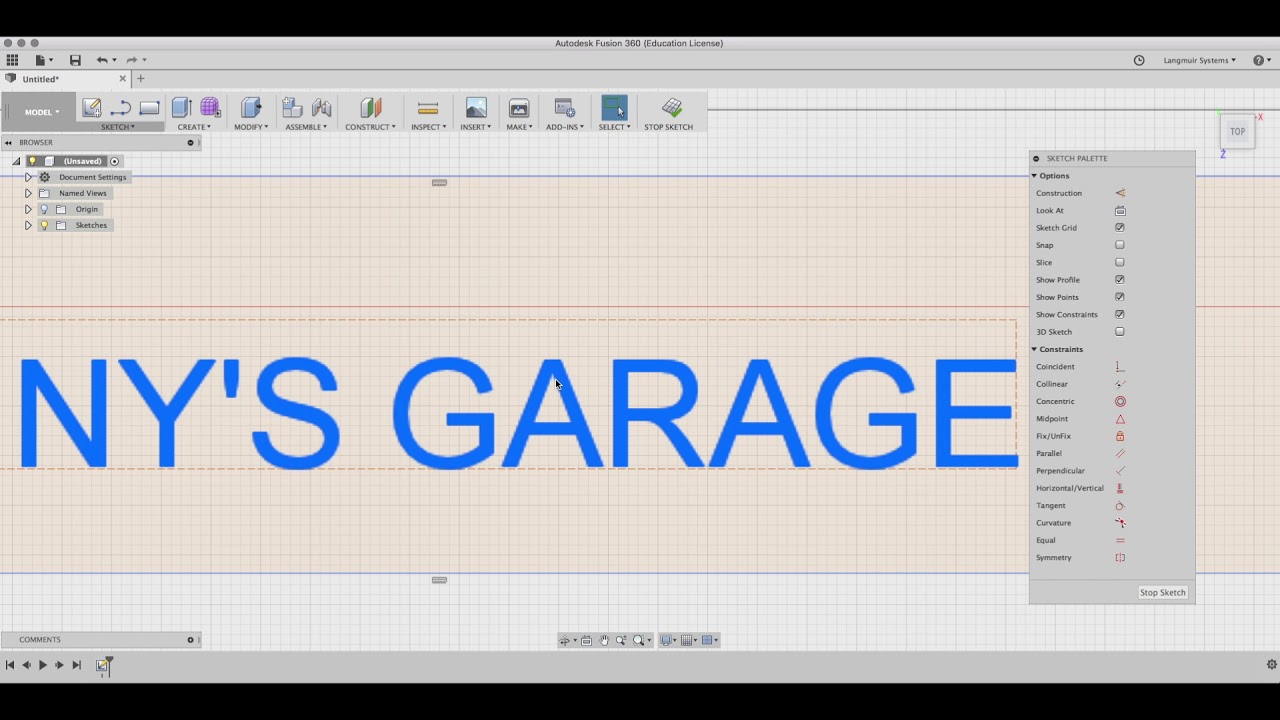
To embed this screencast choose a size. Add your text to the same sketch as the centerline. Tips tricks find answers to faqs and other helpful fusion 360 tips and tricks. Bodies vs components get a grip on components by learning the 1 fusion 360 rule.
Text on arc add in creates a sketch text on the selected arc spline elliptical arc conical curve circle ellipse or line. The text has a rectangle around it but when the text is changed its recreated losing any coincidents you manage to set on it. At the moment it seems you can only align text using the bottom left hand point in fusion 360. This is the current workflow to emboss text in fusion 360br br we understand the need for a dedicated command which this is not.
Lets walk through how to extrude or cut text on a curved surface or cylinder in fusion 360. This is just the simplest way to achieve the resultbr br note that the key benefit of using split facepress pull is that the emboss text side walls are perpendicular to the surface when you039re done. Enter your height on the dialog box and click ok. To find the true centerline you will want to snap to the midpoint constraint triangle icon.
Getting started check if you qualify for fusion 360s free personal use license. Next select sketch text and click on the surface to start entering your text.

Fusion 360 On Opensuse Linux Review Cubiclenate S Techpad

Fusion 360 Face Milling Cad Cam Lessons

Bantam Tools Blog Six Key Steps For Designing And Milling A Topographic Map In Fusion 360
Fusion 360 Vs Solidworks The Differences All3dp

Design A Space Satellite In Fusion 360 9 Steps With Pictures Instructables